Part of the complete guide: How to improve your archery score
Draw length is the measurement everything else follows from: arrow length adds a safety margin to it, longer draws need longer bows, and a longer arrow behaves as though its spine were weaker. Studies linking arm length to score find at most a weak relationship, and strength matters more than proportions. So size the equipment around your own measurements, not a training partner's, whose setup can be wrong for you in three ways at once.
When the conversation turns to equipment, attention goes straight to the visible things: poundage, sights, arrow brand, stabilisers. But there is one measurement, far less conspicuous, that governs all the others: draw length, meaning how far open you are when you reach full draw. It is a picture of your proportions applied to the shot, and it is where any setup should begin.
The problem is that things often go the other way around: you copy a training partner's setup, or you work with whatever is available, and the body gets fitted to the equipment. That rarely works well, because the right equipment is built around your measurements, not someone else's. The studies that have looked at archer anthropometry, arm length, draw length, in relation to force production and accuracy, do not describe a deterministic rule: arm length shows at most a weak correlation with score, and once you isolate the variables, strength matters more than proportions in themselves. What does hold true is that these are the measurements your equipment is sized around, which is why they are worth knowing.
This article covers why draw length comes first, how the other measurements follow from body proportions, and what the most common setup mistakes look like for beginners. It is not a technical tuning manual, that has its own dedicated article, but a map for getting the foundations right from the start.
Draw length: the measurement that governs the rest
Draw length is the distance, at full draw, between the bottom of the nock and the pressure point on the grip (plus a small standard convention). In plain terms: how far you reach when you are properly open, with correct posture and anchor in place. It depends on your structure, wingspan, chest width, neck length, which is why it is personal.
It is the governing measurement because everything else cascades from it: arrow length, bow size, even the dynamic behaviour of the arrow in flight. Getting it right at the start is worth more than any expensive accessory, and getting it right means taking the measurement with correct technique rather than at random, because a draw length taken in poor posture captures the error, not you.
Arm length and wingspan
Draw length is closely tied to wingspan (fingertip-to-fingertip with arms extended), which offers a useful first estimate before you even shoot. Individual proportions matter: at the same height, longer arms mean a greater draw length and therefore different setup choices.
A few studies have tried to tie arm length, draw length, and accuracy together, but the picture is weak and far from linear: none has found a "perfect" proportion that guarantees the centre. The practical takeaway is simpler: your structure is worth knowing and working with, rather than forcing your body into a setup designed around someone else's.
From measurement to setup
Once draw length is established, the other choices follow with a certain logic, and the main ones are these three.
Strength, poundage, and anthropometry
Proportions also interact with strength and poundage, because a longer draw length means, with the same bow, a slightly higher peak draw weight and a longer power stroke: the body works harder, and this needs to be accounted for when choosing a sustainable poundage. It is one of the reasons why copying someone else's poundage is doubly wrong: not only is their strength different, so is their leverage.
The principle stays the same as always: the right poundage is what you can hold with correct technique throughout the session, calibrated to your measurements and your strength, and anthropometry does not change that principle but personalises it.
Common mistakes in the initial setup
Beginners make the same setup mistakes almost without exception, and since the mistakes repeat, recognising them before you make them saves months.
Copying someone else's setup
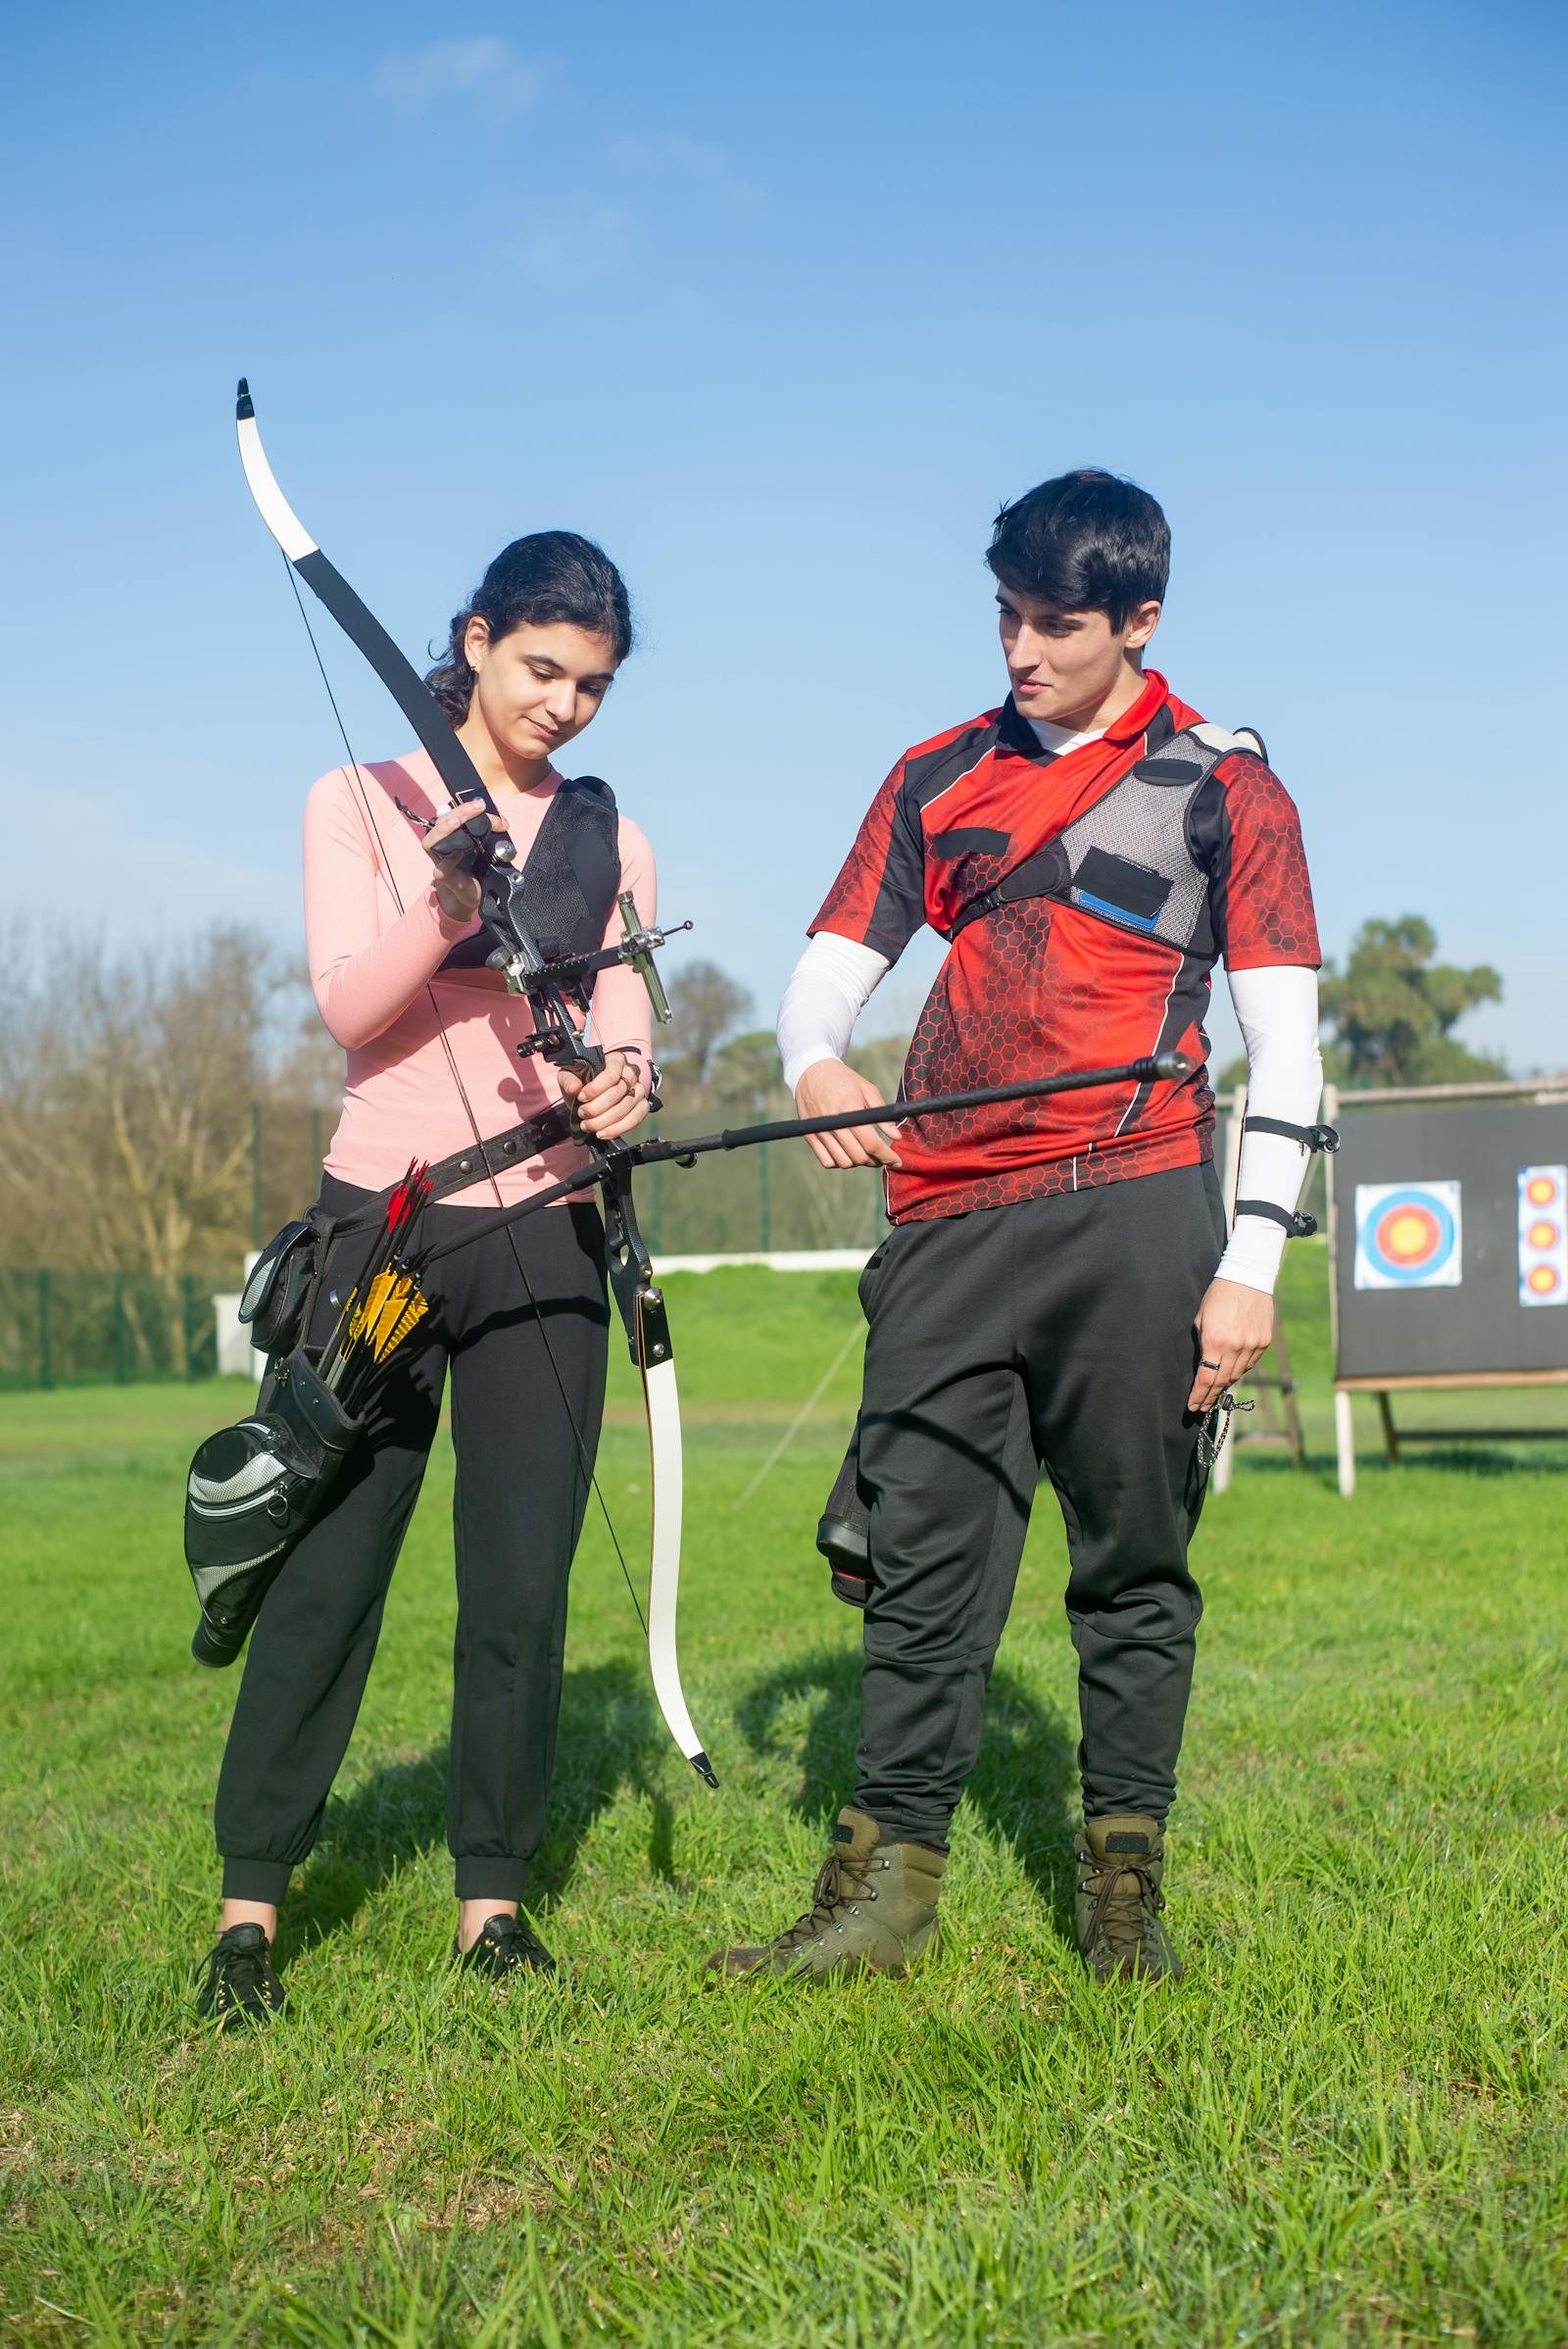
Taking a training partner's bow, arrows, and poundage because "it works for them." Their measurements are not yours: what is right for them can be wrong for you in three different ways at once.
Measuring draw length carelessly
Taking your draw length with approximate posture or an uncertain anchor captures the error, not your actual measurement. Draw length should be measured with correct technique, ideally with an instructor present.
Arrows that are too short
To gain a bit of speed or save money, arrows are chosen right at the limit of draw length. This is a real safety risk: the arrow must always maintain a margin beyond the rest.
Chasing equipment before technique
Spending on advanced equipment before technique and draw length are stable. In the early months, a basic setup sized correctly to your measurements will outperform any expensive kit that has been poorly fitted.
Your measurements first, equipment second.
Draw length is the root of the setup: arrows, bow size, and even spine all follow from it. Building your equipment around your own proportions, rather than a training partner's, is the simplest way to avoid starting on the wrong foot. And as always: technique and a stable measurement first, accessories later.
Further reading. What you read here rests on the scientific literature. To keep the text readable I do not cite individual studies inline, but you will find the full reference list, over 120 studies and books, on the dedicated page.
Go to the bibliographySome things I take on directly.
I work on training and functional rehabilitation, on injury prevention and recovery, and on research. If you have a project or a collaboration in mind, or a question left over from what you have just read, write to me: I answer myself.