Part of the complete guide: How to improve your archery score
Sixty fps covers posture, but the release needs 120 to 240, because string contact with the arrow is over in under 16 milliseconds. Front, side and rear angles cover most of it; the 240 fps close-up on the hand is for advanced release work. My protocol is monthly: 12 arrows per angle, offline analysis, then one or two elements to work on for four weeks. The main limit is that you only notice problems you already know how to recognise.
Video analysis of your own shot is probably the most powerful self-coaching tool an archer has access to today, and it is what I work with every day. Over the last decade, smartphone cameras have reached a point where anyone can record at 60 to 240 fps with more than enough quality for serious technical analysis. The gap between what an archer feels they are doing and what the video actually shows is often considerable, and that gap is precisely the raw material of every improvement.
In this article we look at how to capture useful footage (camera angles, distances, frame rates), what to look for in the video at each phase of the shot, how to bring what you discover back into practice, and the most common mistakes in video self-coaching. The goal is a practical methodology, applicable right away and with virtually no cost.
Minimum technical setup
Useful video analysis requires very little: a smartphone that records at 60 fps or more, which covers practically every model from the last five years. You then need a tripod or phone mount (15 to 30 euros), because stability is essential and handheld footage gets you nowhere. And a slow-motion app that lets you move frame by frame (OnForm, Hudl Technique, or even just the native camera app for slow-motion recording).
Footage at 120 to 240 fps is ideal for the release: the string-to-arrow contact is over in under 16 milliseconds, so at 30 fps (one frame every 33 ms) it vanishes between frames. Even at 240 fps it is only a handful of frames: you will not measure it to the millisecond with a smartphone, but you can see it, and for self-coaching that is what matters. For posture or the pre-shot routine, 60 fps is more than sufficient.
The four standard camera angles
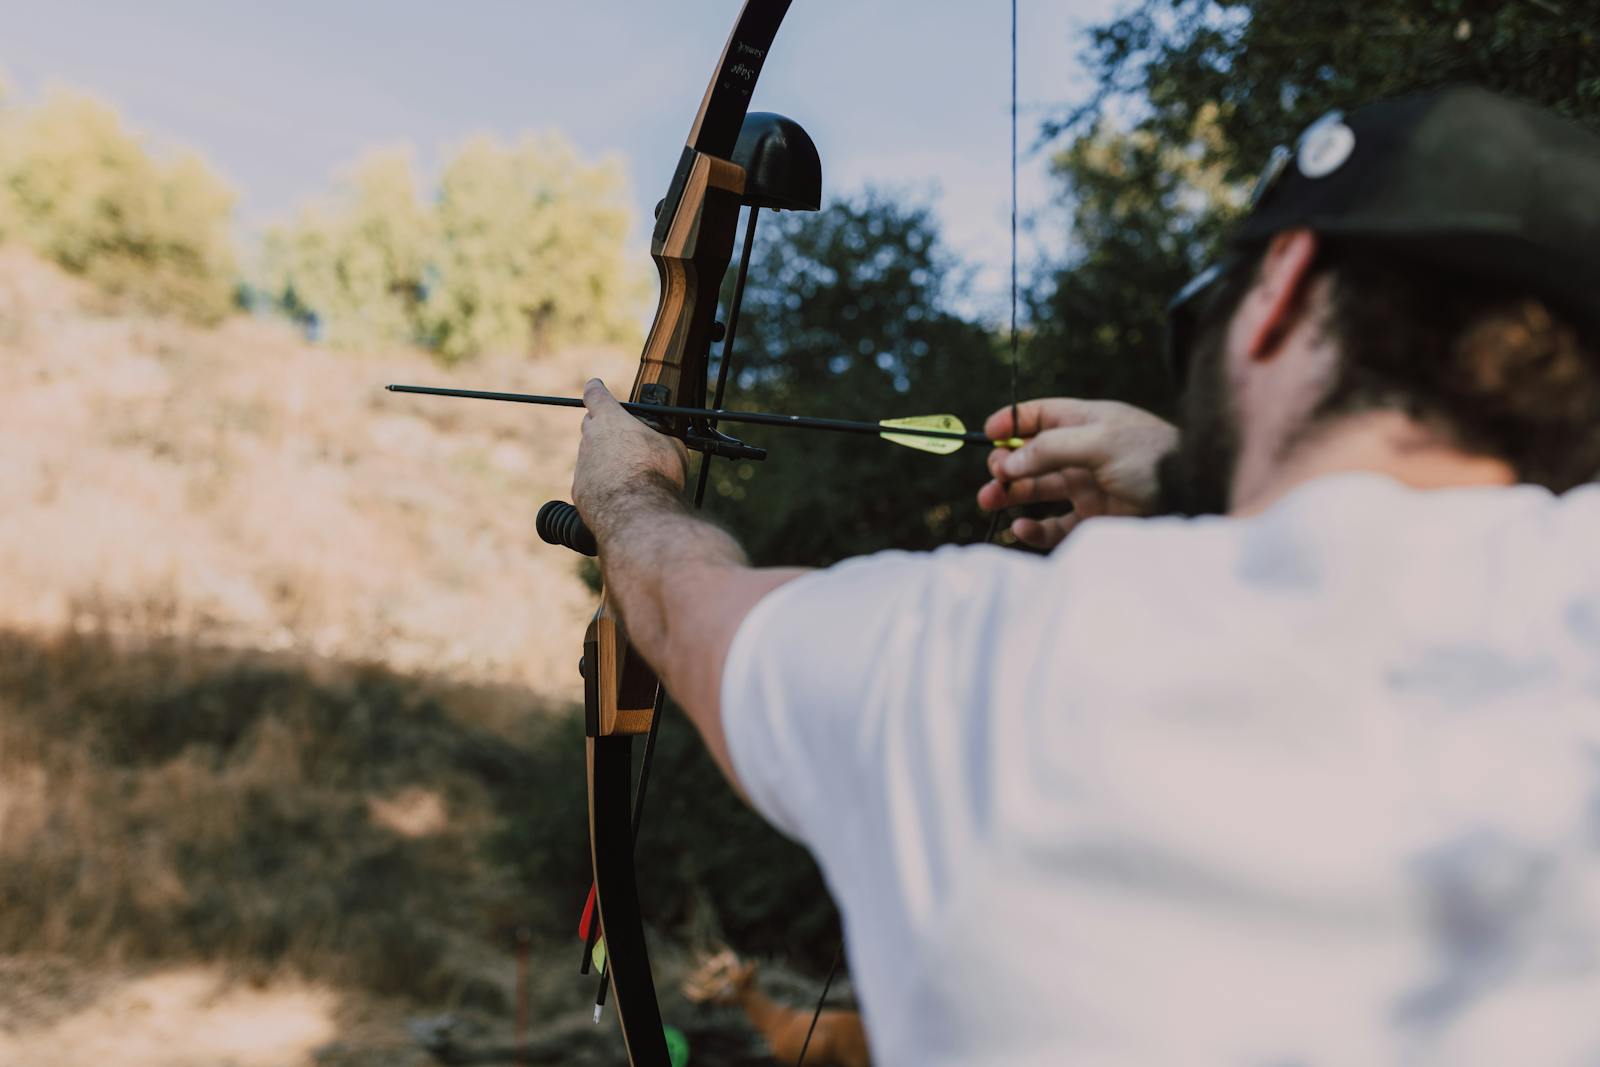
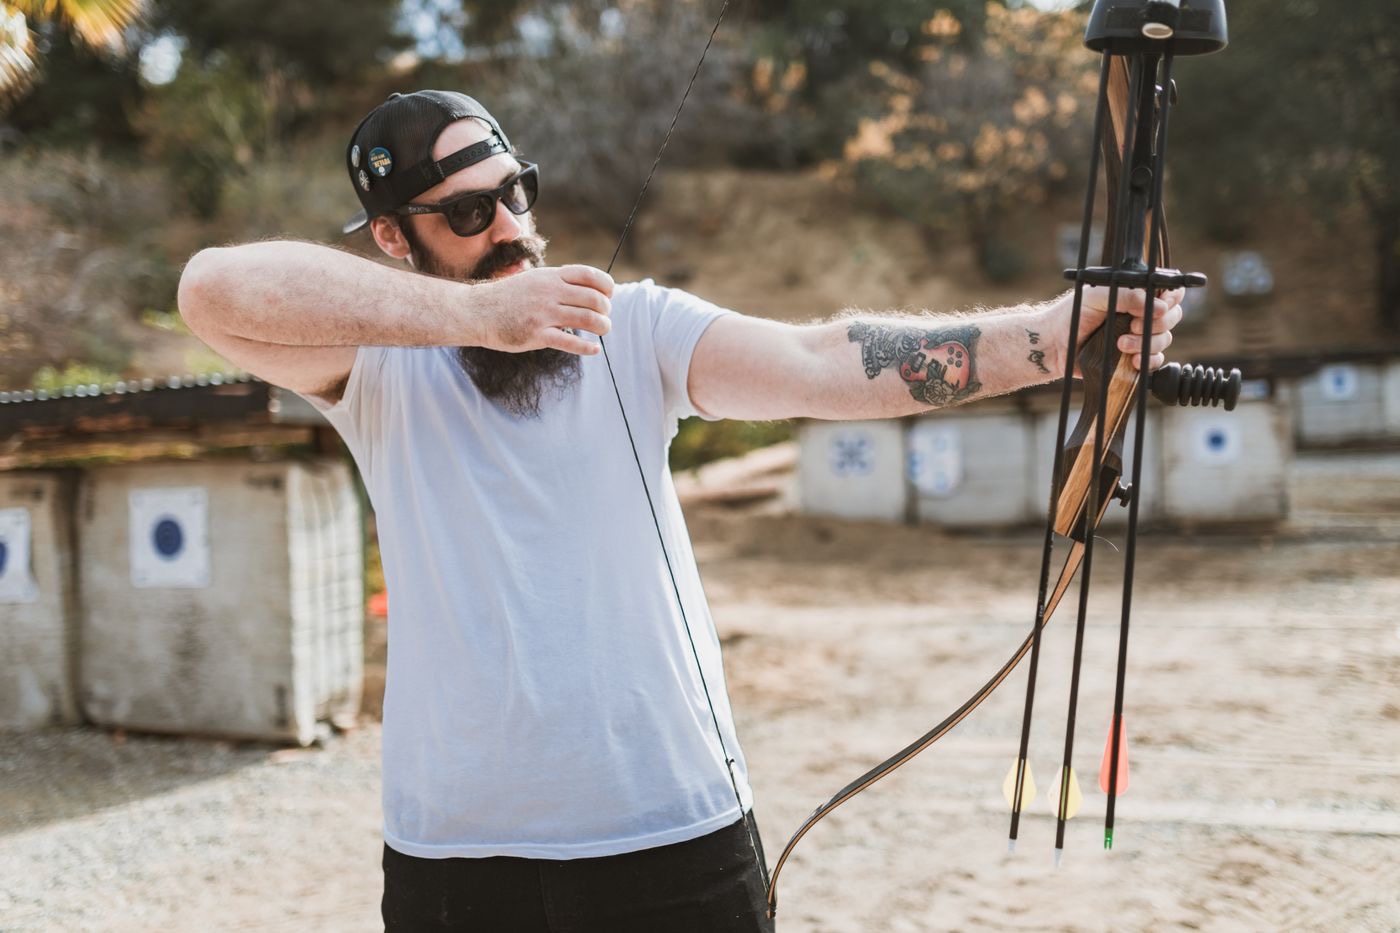
For most archers, the first three angles are sufficient, whereas the fourth is for competitive archers working on the finer details of the release.
What to look for in the video: a complete checklist
From front and side angles
Shoulders parallel to the floor. Hips aligned under the shoulders. Weight distributed 50/50 on both feet. Head neutral, without lateral tilt.
Red flags: one shoulder higher than the other, weight shifted onto one leg, head tilt.
From the side angle
Identical contact point across consecutive arrows. Consistent apparent pressure. String visibly touching nose and lip.
Red flags: anchor shifting by a few millimetres between arrows, intermittent string contact, visibly inconsistent finger pressure.
From the rear angle in slow motion
Fingers opening fluidly toward the face, hand remaining in the expansion position, string separating cleanly from the fingers.
Red flags: hand jumping forward or collapsing onto the chest, fingers actively pushing the string, lateral oscillation of the arrow after leaving the bow.
From the side angle
Bow hand remaining stable, release hand staying in the expansion position, overall posture maintained through the arrow's flight.
Red flags: bow arm dropping before the arrow clears, anticipatory body movement toward the target, loss of posture at the moment of release.
Practical video analysis protocol
A solid video self-coaching protocol has three distinct phases, each with a specific purpose.
Repeated over 6 to 12 months, this protocol produces technical improvements that accumulate and can be measured, and it sharpens your ability to observe yourself. At that point it becomes part of training, not something you do occasionally.
Comparing your footage with elite archers
A useful complement to your own footage is comparing it with video of high-level archers. YouTube and the official channels of international federations offer hours of slow-motion footage of Olympic and world-class athletes, and watching it with method, looking for the same details you look for in your own video, is the fastest way to understand what separates the two.
That comparison, though, requires two things: first, every elite archer has their own anatomical and technical characteristics, so copying the outward form without understanding the underlying principles produces only technical caricatures. Second, what you see is the product of thousands of hours of practice, which you will not replicate in two weeks, and expecting otherwise is the fastest route to frustration.
The genuinely productive way to study footage of champions is to look for the common principles shared across different athletes: multi-point anchor, stable follow-through, external focus, and then understand why, from a biomechanical standpoint, those things work. That understanding is what should guide your technical work, without resorting to superficial imitation.
Limits of video self-coaching
Video self-coaching is powerful, but it has limits worth knowing about, to avoid frustration or false certainty.
The first limit is that you only see what you already know: an intermediate archer reviewing their own footage will only notice the problems they already know how to recognise, whereas unfamiliar patterns remain invisible, even when they are obvious to someone else. That is why, every now and then, consulting an experienced coach who looks at the same footage reveals things that self-coaching alone simply cannot see.
The second is the effort of analysis, because watching your own footage with attention and honest criticism costs more than it seems. Many people end up giving it a quick pass, for reassurance or for dismay, "look how well I shoot" or "what a disaster," and the tool then delivers only half of what it could.
The third is the risk of analysis paralysis, because some archers become so fixated on the details visible in the video that they damage their natural technique, attempting to correct too many things at once. The rule is simple: one element at a time, and consolidate it before moving to the next.
Useful apps and software
Several free or low-cost apps make sports video analysis considerably easier. Among the most widely used are Hudl Technique and OnForm: they allow annotation, side-by-side comparison of two videos, and overlay of grids and lines for geometric analysis. CoachsEye was once the most popular, but it is less actively updated these days.
For those who do not want a dedicated app, the native camera app in slow-motion mode and any video player with frame-by-frame playback, VLC on a computer or slow-motion playback on a phone, are more than enough for a basic analysis.
For competitive archers at a more advanced level, software such as Kinovea (free and open source) enables more sophisticated biomechanical analysis, including angle measurements, trajectories, and velocity. There is a learning curve at the start, but it is a professional-grade tool at zero cost. That same type of analysis is what I wanted to make more accessible when I built Eyercer, the software I use with my athletes.
Video does not lie. Perception often does.
The gap between what you feel you are doing and what you are actually doing can be considerable. Video makes that gap objective and therefore analysable. For any serious archer looking to improve over the medium term, it offers one of the best cost-to-benefit ratios of any tool available.
Building an archive over time
One benefit of regular video analysis that tends to be underestimated is the ability to build a long-term archive of your own shooting. Reviewing footage from six months or a year ago and comparing it with today's reveals progress that would otherwise remain invisible.
Organising the archive is straightforward, but it does take a little structure: folders by year and month, files with descriptive names (for example 2026-06-15_side_70m.mov) and a couple of lines of notes for each session are all it takes. Five minutes spent on organisation today saves hours of confusion later, when you are looking for a specific piece of footage.
The archive also becomes a strong motivator. In moments of plateau or technical frustration, reviewing your own shooting from a year ago shows, without any doubt, the progress made, even when day to day it feels like nothing is changing. It is an honest mirror of your development, useful technically and psychologically in equal measure.
Sharing video with coaches and other archers
An increasingly common practice is sharing footage of your shooting with experienced coaches or other archers, online or in dedicated groups. Archery communities, specialised forums, topic-based Facebook groups, and Discord servers all allow you to gather feedback from many people in a short time.
There are real advantages, but it is worth approaching this carefully. The main advantage is access to expertise you might not have nearby, given that coaches from other countries, elite archers with deep technical knowledge and specialists in particular disciplines can offer perspectives you simply cannot find where you train.
The thing to watch is the quality of what comes back, because online feedback is often contradictory, from people with very different levels of technical knowledge, and distinguishing qualified advice from casual opinion requires experience, so a beginner can get confused quickly. The practical rule: weight feedback in proportion to the verifiable credentials of the person giving it.
A more structured alternative is paid online coaching with a single qualified coach. Remote video analysis sessions with an expert deliver consistent, high-quality feedback in a far more reliable way than crowdsourcing. The cost is reasonable (30 to 80 euros per session) and for a serious archer the return is significant.
Optimal frequency
How often it is worth repeating the analysis depends on level and learning phase, but a few general guidelines help calibrate things.
For a beginner in the first six months, one video analysis session per month is usually enough. Technique changes quickly and more frequent analysis tends to repeat itself, because at this stage the foundations are still being built rather than a formed movement refined.
For the intermediate archer, a session every two to three weeks strikes the right balance between regular feedback and time to apply the corrections identified: more often leaves no room to work on them, less often lets the errors settle in.
For the advanced competitive archer, weekly video analysis, or even more often, is entirely justified, because at higher levels technical consistency matters and close monitoring pays off. Many world-class archers film virtually every session and then analyse selectively.
In any case, the quality of analysis matters more than frequency. One session analysed thoroughly once a month is worth more than ten casual viewings. Finding your own ideal frequency means finding the point where the time you spend on analysis stays sustainable and productive over the medium term.
Integration with traditional coaching
Video self-coaching does not replace traditional coaching but complements it, and it is worth knowing what each of the two does better.
In-person coaching is irreplaceable in certain respects: tactile feedback (physical correction of posture), live observation with the ability to intervene immediately, reading of complex patterns that requires an eye trained over years. A session with an experienced coach every four to six weeks remains advisable for any serious archer, at any level.
Video, on the other hand, is irreplaceable in other respects: repeatability (you can review the same moment as many times as you need), objectivity (it shows exactly what happened), and archivability (you build comparisons over time), all of it on your own schedule and without depending on anyone else's availability.
The ideal integration combines weekly or fortnightly video self-coaching for ongoing monitoring, with coach sessions once a month or every two months for more nuanced interventions. Between sessions, the recorded footage can be shared with the coach by message or on a dedicated platform, for a quick read on a specific question.
This combination produces a richer coaching system than either approach alone. For competitive archers it has become the standard; for recreational archers it is an accessible and genuinely worthwhile option.
Psychological benefits of video analysis
Beyond the technical benefits, which are clear, regular video analysis brings psychological ones too, and these tend to be underestimated. Knowing about them helps justify the time you invest, beyond technical progress alone.
The first is making performance objective, given that subjective perception of your own shooting is filtered by emotions, expectations and social context, whereas video is neutral and shows what happened regardless of how you felt while it was happening. This reduces the emotional distortion of self-judgement and gives you a more realistic assessment of your practice.
The second is the space to reflect, because reviewing your own shooting later, hours or days afterward, allows a calmer analysis than is possible during a session. Errors that felt catastrophic in the moment turn out to be minor, while patterns that seemed random emerge as systematic, and that distance serves the technical correction as much as the head.
The third is seeing that growth continues: for an archer who feels stuck, or even sliding backwards, comparing footage from a few months earlier often reveals progress they had not noticed. It is objective evidence that keeps motivation alive through difficult phases.
The fourth is a sense of control, because having an analysis and improvement tool at hand, one that does not depend on a coach being available, gives you back the sense of being an active agent in your own development, rather than being subject to outside factors. That is an important psychological dimension for keeping a practice going over the long term.
Further reading. What you read here rests on the scientific literature. To keep the text readable I do not cite individual studies inline, but you will find the full reference list, over 120 studies and books, on the dedicated page.
Go to the bibliographySome things I take on directly.
I work on training and functional rehabilitation, on injury prevention and recovery, and on research. If you have a project or a collaboration in mind, or a question left over from what you have just read, write to me: I answer myself.